I made Rowan a new blanket. I still haven't finished the quilt that I started before she was even born. This blanket was so very easy to make. I did have a moment. A moment where I sewed two pieces of fabric together... in the wrong direction. I made sure to use a tight stitch because I didn't want it to come apart. Only after I was done did I realize that the fabric was facing wrong.
Lesson learned.
Here's what I used: 1 yd of patterned fabric, 1 yd of minky, thread, scissors, iron, measuring tape
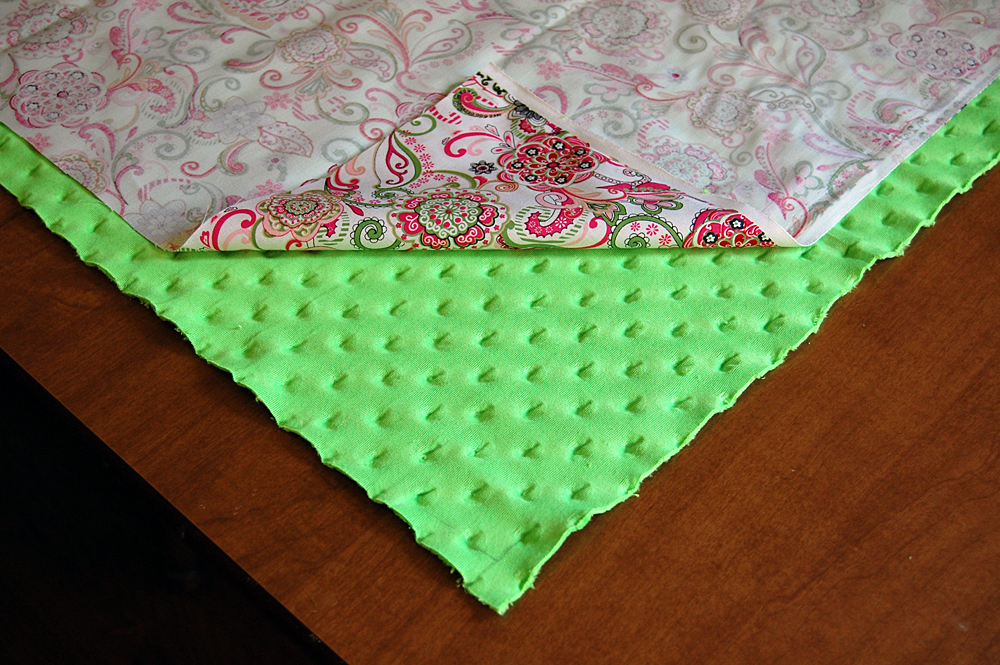
I started by cutting the patterned fabric 36" X 36". Lay that on top of the minky. I don't know if you've ever sewn with this stuff before, but I found out the hard way that it moves/stretches so you have to be careful.
That being said, I cut the minky a inch or so larger than the other fabric.


Notice how the wrong side of the minky is facing up? Double check before pinning!

After checking to insure fabric is facing the right way... ( I know I'm repeating myself, but there is nothing worse that realizing you have to rip out a seam that is 144 inches long). The task was to daunting for me and I ended up re-cutting my fabric. So my 36 inch blankie became a 32 inch blankie. Anyway... I try to keep the sewing foot on the edge of the fabric. I forgot to take a photo of the gap I left in one side. Leave a 6 inch opening so you can turn your blanket right side out.

Trim minky fabric to the edges of the top fabric and trim off corners. Then flip your fabric right side out and push out the corners.

I sewed along the edge to give it a more finished look. Keeping the edge of the fabric on the edge of the foot.

Tada! All done!


No comments